Exiles
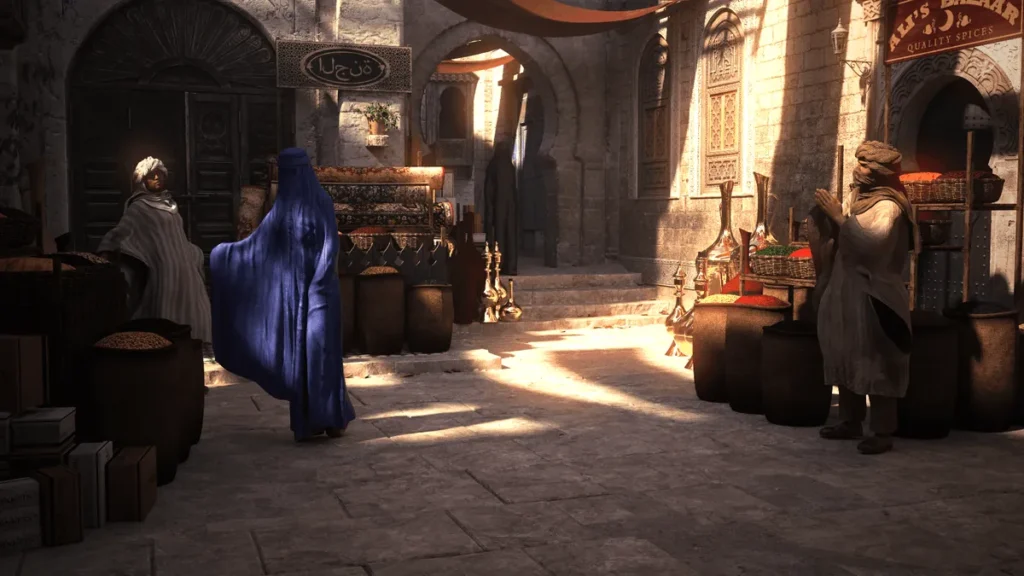
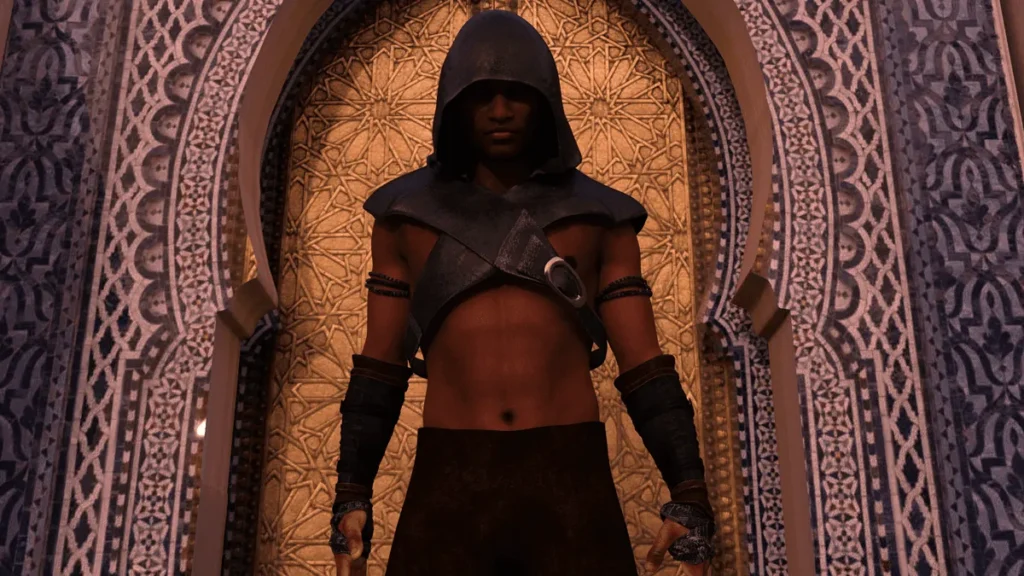
Exiles Screenshots


Exiles review
A practical, player-focused guide to Exiles gameplay, systems, and tips
Exiles is a provocative adult-oriented interactive title that blends narrative choices with character progression and player-driven exploration; this article focuses solely on Exiles and what players need to know to get the most from the experience. In the next sections I’ll walk you through the game’s core systems, character options, progression loops, practical strategies I learned while playing, and ways to customize your experience. Whether you’re new to Exiles or returning after a break, this guide gives actionable advice, real player anecdotes, and clear next steps to improve your play.
Getting Started with Exiles: Installation, Setup, and First Hour
Alright, let’s get real. We’ve all been there. You see the trailers for Exiles, your friends are talking about it, and you’re ready to dive into its vast, unforgiving world. You hit ‘install’ and then… overwhelm. The launcher settings, the character creation screen with a million options, the immediate “what do I do now?” feeling once you’re in-game. 😅
Don’t worry. I’ve been through it, made every early mistake you can think of, and I’m here to smooth out the path for you. This guide will take you from downloading the game to nailing your crucial first hour, setting you up for success instead of frustration. Let’s jump in.
System requirements and installation checklist
Before you can lose yourself in the world of Exiles, you need to make sure your rig can handle it and get the game installed smoothly. Nothing kills the vibe faster than choppy frames or a failed installation. Let’s break down the Exiles system requirements and walk through the Exiles installation guide.
First, the technical stuff. Exiles is a beautiful but demanding game. Here’s what you’ll need:
| Component | Minimum Requirements | Recommended Requirements |
|---|---|---|
| OS | Windows 10 64-bit | Windows 11 64-bit |
| Processor | Intel Core i5-7400 / AMD Ryzen 3 1200 | Intel Core i7-10700K / AMD Ryzen 7 3800X |
| Memory | 12 GB RAM | 16 GB RAM |
| Graphics | NVIDIA GeForce GTX 1060 (6GB) / AMD Radeon RX 580 | NVIDIA GeForce RTX 3070 / AMD Radeon RX 6800 XT |
| DirectX | Version 12 | Version 12 |
| Storage | 70 GB available space (SSD strongly advised) | 70 GB available space (NVMe SSD) |
💡 Pro Tip: The jump from an HDD to even a SATA SSD for Exiles is night and day. Load times for zones and assets are significantly reduced, which is crucial in a seamless open world. If you meet only the minimum specs, turning down shadows and view distance will give you the biggest performance boost.
Now, for the Exiles installation guide. The process is straightforward:
- Purchase & Download: Buy Exiles on its official store page (Steam, Epic, etc.). Start the download and be patient—this is a big game. ☕
- Launcher Setup: Once the base files are down, the Exiles launcher will boot. This is where you’ll manage updates and patches. Let it complete its initial update check.
- Critical Pre-Launch Settings: Before hitting “PLAY,” click the settings/sprocket icon in the launcher.
- Graphics: Set your resolution and a sensible preset for your hardware. If you’re unsure, start with “Medium.”
- Controls: Glance at the keybinds. The defaults are usually okay, but note the keys for your inventory (
I) and map (M). - Privacy: I highly recommend enabling some form of “Streamer Mode” or privacy setting if you don’t want your character name visible in random screenshots.
- Account Link (If Required): Some versions may prompt you to link or create a dedicated Exiles account. Have your email ready.
That’s it! You’re now ready for the most important part: your first steps into the world. This Exiles installation guide is your foundation. A stable setup means fewer crashes and more time playing.
First-hour objectives: character creation to first milestone
The first 60 minutes in Exiles are a whirlwind. You’re bombarded with visuals, systems, and choices. Having a plan is the difference between feeling lost and feeling empowered. Here is your actionable roadmap, blending Exiles first hour tips with the pivotal Exiles character creation process.
Your First-Hour Action Checklist:
* ✅ Create your character with a focus on your desired playstyle.
* ✅ Absorb the opening story beats, but keep moving.
* ✅ Complete the introductory tutorial prompts (don’t skip them!).
* ✅ Loot everything in the starting area.
* ✅ Craft your first basic tool and weapon.
* ✅ Reach the first designated safe haven or settlement.
Now, let’s expand on that. The moment you hit “New Game,” you’re faced with Exiles character creation. This isn’t just about looks; your starting choices have immediate gameplay impact. You’ll pick an Origin, distribute attribute points, and select a starting bonus.
- Origin: This is your character’s backstory (e.g., Shipwrecked Sailor, Desert Nomad, Forgotten Scholar). It primarily affects your starting gear and the first few lines of dialogue you get. For your first playthrough, pick what sounds cool—the gameplay differences here are minor but flavorful.
- Attributes: This is where I made my biggest Exiles beginner mistake. I spread my points too evenly, trying to be a jack-of-all-trades. Don’t do this! Exiles rewards specialization early on. Want to swing big two-handed weapons? Dump points into Strength. Want to sneak and pick locks? Focus on Dexterity. Want to cast spells? Intelligence is your friend. Putting 80% of your starting points into one or two attributes will make those first fights and checks much easier.
- Starting Bonus: This is usually a choice between a minor weapon proficiency, a crafting recipe, or a small stash of resources. I almost always take the resource stash. It gives you a tiny cushion so you can craft your first tool immediately without frantic gathering.
Once you’re in the world, how to start Exiles effectively comes down to priorities. The game will guide you with pop-up tutorials—read them. They explain the core loops. Your immediate goals are:
- Loot Everything: Press ‘E’ on every sack, crate, and basket you see. You need basic materials like cloth, wood, and metal scraps.
- Craft a Tool: Open your inventory (
I) and find the crafting menu. Use your starting materials to make a Stone Pick. This is your key to gathering more advanced resources from nodes in the world. - Follow the Guidance: There’s usually a faint quest marker or journal entry pointing you toward a nearby cave, camp, or settlement. This is your first milestone. Your objective is to get there. It will unlock your first bed (a respawn point), a basic storage chest, and often a crucial early-game vendor or quest giver.
Don’t get distracted by exploring every side path in this first hour. The goal is to establish that first foothold of safety and capability. That’s the core of my best Exiles first hour tips: secure your base operations first, then go adventure.
Onboarding tips I learned (personal anecdote)
Let me tell you a story about my first character, Gren. I thought I was being clever. “I’ll make a charismatic warrior who can also talk his way out of trouble!” 🎭 I put points into Strength, a few into Constitution, and then… I dumped the rest into Charisma because the description said it helped with vendor prices and dialogue.
Big mistake. A huge Exiles beginner mistake.
I got through the opening area fine, but when I reached the first real wilderness and a pack of hyena-like creatures attacked, I was useless. My sword swings were weak because my Strength was only okay, and I died. A lot. I couldn’t mine iron ore effectively to make better gear because my tool speed was tied to my attributes. I was stuck in a cycle of dying, respawning, and barely scraping by.
I was about to quit. Then, I talked to a friend who was thriving. They asked about my build, facepalmed, and said, “You’ve gimped your combat for a 5% discount at a vendor you can’t afford yet.”
The solution? I started over. This time, I went all-in on Strength and Constitution for a straightforward melee build. The difference was astronomical. Enemies that took ten hits to kill now went down in four. I gathered resources faster. I felt powerful and in control. That rough start taught me the most valuable of all Exiles first hour tips: Master your core function first. Specialize early to survive and thrive. You can always find gear, potions, and companions later to round out your utility, but you can’t do anything if you’re dead.
Based on that hard lesson, here are my three golden pieces of advice for how to start Exiles right:
🛡️ Specialize, Don’t Generalize: Pick one thing (melee, ranged, magic) and build your first 10 levels around it.
🧺 Loot is Life: Your inventory will be a mess. Get used to it. Everything has a use, especially early on.
🏠 Secure a Home: The moment you find a place you can claim, build a bedroll and a storage box. This is your anchor to the world.
Finally, let’s fix some common technical hiccups. Here are three quick troubleshooting tips:
- Crash on Launch? Update your graphics drivers. 90% of the time, this is the culprit. Failing that, run the launcher as an administrator.
- Terrible Performance? In-game, go to Settings > Graphics and turn off “Volumetric Fog” and “Screen Space Reflections.” These are often the most taxing settings for minimal visual gain.
- Can’t Connect/Update? Check your firewall. Make sure the Exiles launcher and .exe are allowed through. Sometimes a simple router restart can clear up connection issues too.
There you have it. You’re armed with the knowledge of Exiles system requirements, a clear Exiles installation guide, a roadmap of Exiles first hour tips, a warning about Exiles beginner mistakes, and a strategy for Exiles character creation. You now know exactly how to start Exiles with confidence. The wilds are calling. Go build your legend. ⚔️✨
This guide covered everything a player needs to make the most of Exiles: getting started, core mechanics, build options, exploration strategies, and community resources. Throughout I shared practical, experience-based tips and short anecdotes to highlight common pitfalls and high-impact choices. Try the recommended first-hour checklist, test one of the provided builds, and join a community hub to exchange tips. If you enjoyed these insights, use the checklist and build table to plan your next session and share your own discoveries with other players.